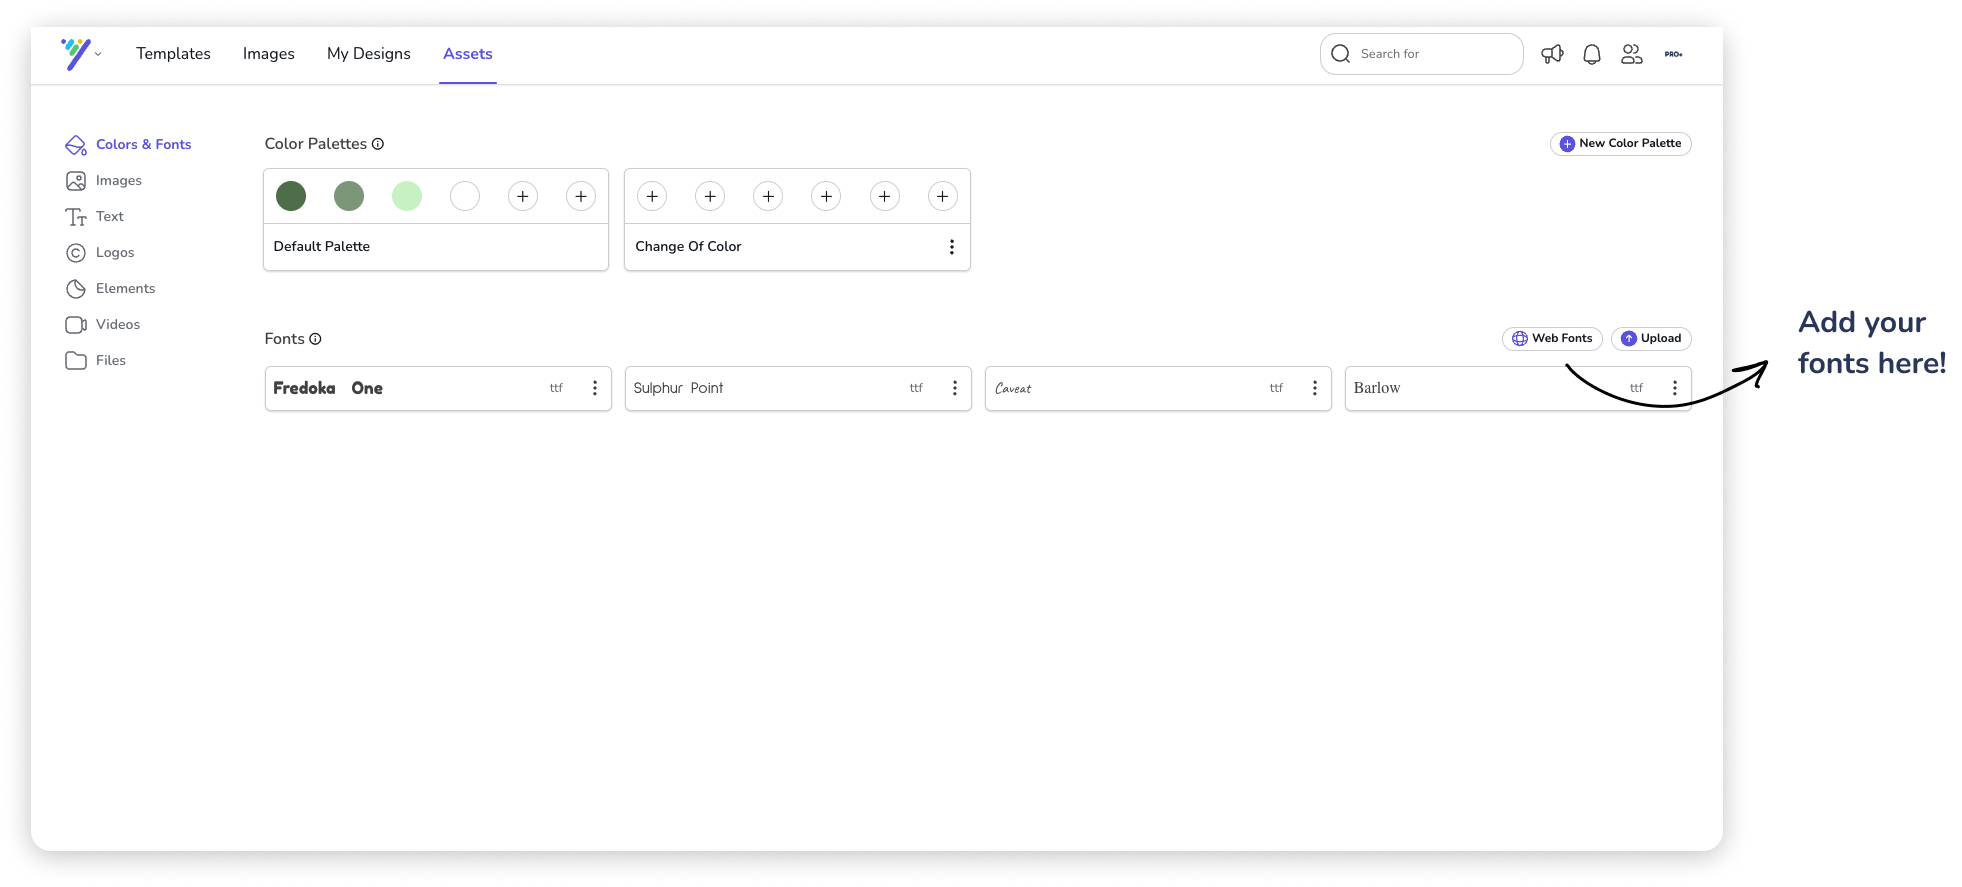
You can manage your assets by clicking on the Assets top menu. You will then be directed to the Assets screen where you can manage your assets by the following organization:
Colors & Fonts
Color Palettes
This is where you can add your brand's color palettes. You can add up to six colors per palette and create more palettes as you desire. The color profiles you can add are RGB, CMYK, and HEX.
Fonts
This is where you can set your brand's fonts by choosing from the available web fonts or uploading fonts from your local files. The font file types you can upload are TTF, WOFF, WOFF2, SVG, and OTF.
Logos
This is where you can add your brand's logos. You can upload from your device, Google Drive, Dropbox, or Photodexia.
The brand logo file types you can add are SVG, JPEG, and PNG
Smart Text
This is where you can add your brand's validated reusable textual content such as addresses, websites, bios, product descriptions, legal information, and more.
Images
This is where you can add your images and backgrounds. You can upload from your device, Google Drive, Dropbox, or Photodexia.
The brand logo file types you can add are JPEG and PNG.
Videos
This is where you can add your brand's videos to help you create interactive designs. You can add the video through Youtube link.
Files
This is where you can add all other types of files such as extra files in order to organize your work quicker. You can organize the Logos, Smart Text, Images, Elements, Videos, and Files by folder.
Once you have set up your assets, you'll be able to access them in the editor by clicking on the My Assets tab for each element.
Video Tutorial

